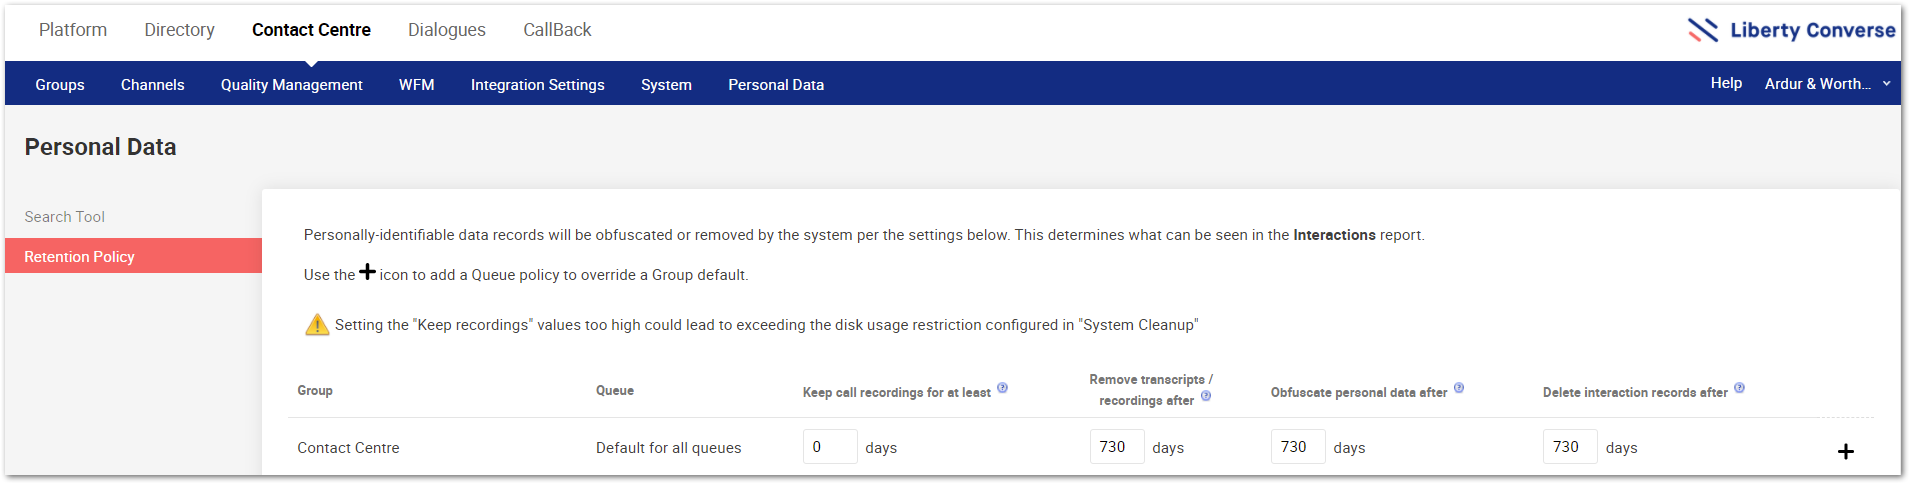
Since Liberty Converse 5.4, it has been possible for those with the correct User Permission to delete an interactions recording. But this feature isn’t on by default. So here is a quick guide on how to do just that.
Firstly head over to PLATFORM>USER PERMISSIONS>ROLES. The permission you want to enable resides in the 59R Group Supervisor role. Click on the role to open up the options available to you, and within the role, you will see the following setting:
![]()
Tick this box and then scroll to the bottom and click Save (forgetting this.
IMPORTANT NOTICE
Doing the above enables EVERYONE with the above Role the ability to delete Call Recordings for Groups they are a Supervisor of. If you want to provide only a select set of people to do this, you will need to create a new Role.
Creating a New Role
-
Under Roles, click

-
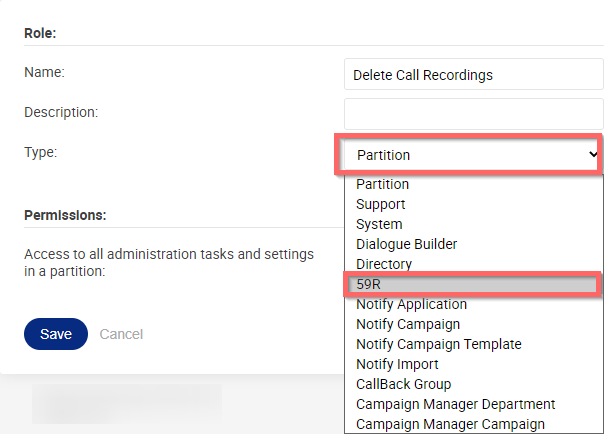
This will bring up the Role creation box. Add a name (such as Delete Call Recordings, meaningful names are always the best). Then using the Type drop-down list, select 59R as shown.
-
Find the permission of:
 and tick the box.
 -
Then scroll to the bottom and click

-
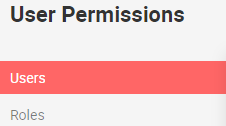
You have now created a role to assign to individual users you want to delete call recordings. To assign this Role to Users, go to the Users Tab (still within USER PERMISSIONS).
Assigning a Role to a User
-
Click
-
Enter the user’s name you wish to add the Role to (start typing, then select from the names that appear).
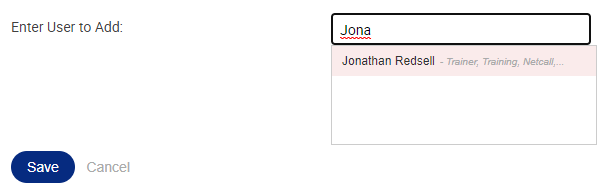
-
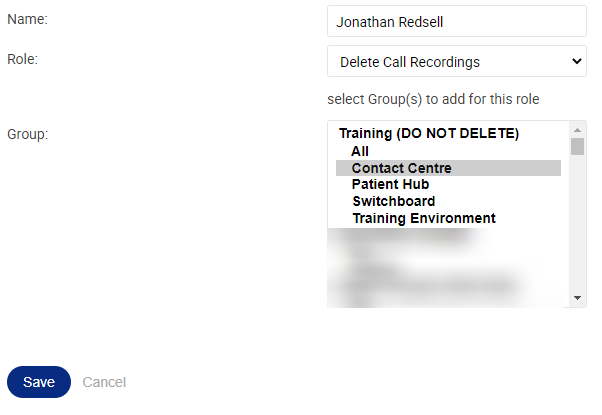
From the Role drop-down list, select the Role name you just created (in this example, Delete Call Recordings). Then select either ALL or the individual Contact Centre Groups you want this user to Delete Call Recordings From.
-
Select the option you desire and click
DONE 
Now, what about deleting a call recording?
-
From within your Liberty Converse Contact Centre applications, run an Interactions Report and find the call that you want to delete the call recording of.
-
Click on the call to bring up the details panel and the call recording.
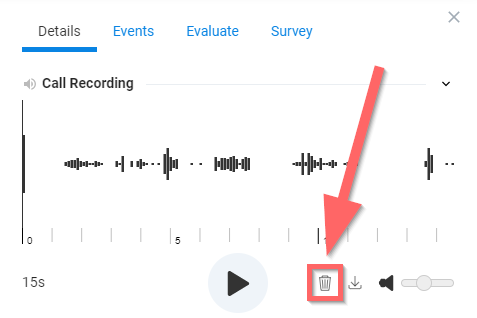
-
You will see the Delete button (looks like a Bin (or Trash can for our American readers). Click this button to delete the recording.
-
But you can’t just delete a recording without a confirmation no, and it’s a great confirmation as well; you need to physically type the word delete into the box and then click the big red Delete Recording button, like so:
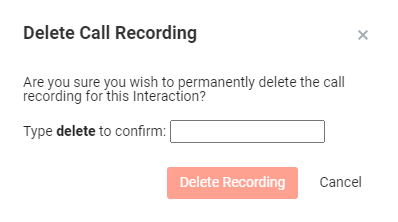
So there is no excuse for saying you did it by accident (sorry).
There you have it, a quick guide to enabling your Supervisors or selected Users the ability to delete call recordings.
Thanks for reading.
Jonathan Redsell - Trainer